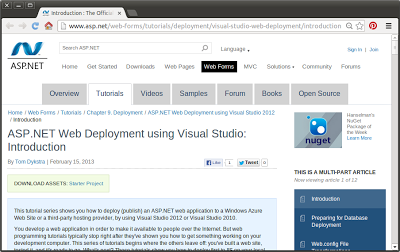
This tutorial series,
ASP.NET Web Deployment using Visual Studio, shows you how to deploy (publish) an ASP.NET web application to a Windows Azure Web Site or a third-party hosting provider, by using Visual Studio 2012 or Visual Studio 2010.
 |
| ASP.NET Web Deployment using Visual Studio |
You develop a web application in order to make it available to people over the Internet. But web programming tutorials typically stop right after they've shown you how to get something working on your development computer. This series of tutorials begins where the others leave off: you've built a web site, tested it, and it's ready to go. What's next? These tutorials show you how to deploy first to IIS on your local development computer for testing, and then to Windows Azure or a third-party hosting provider for staging and production. The sample application that you'll deploy is a web application project that uses the Entity Framework, SQL Server, and the ASP.NET membership system. The sample application uses ASP.NET Web Forms, but the procedures shown apply also to ASP.NET MVC and Web API.
These tutorials assume you know how to work with ASP.NET in Visual Studio. If you don’t, a good place to start is a basic ASP.NET Web Forms Tutorial or a basic ASP.NET MVC Tutorial.
Visual Studio 2012 is recommended, but you can complete most of the tutorial steps by using Visual Studio 2010. You'll need to install the latest updates and the Windows Azure SDK, as explained in the Prerequisites section.
link:
http://www.asp.net/web-forms/tutorials/deployment/visual-studio-web-deployment/introduction


